Create your first project
Create a project in Planix and let it scaffold the kanban board with the four default columns (To Do, In Progress, Review, Done). The project is the top-level container; tasks live inside it, on the kanban board or in the backlog.
Goal
By the end you will have a project in Planix with title, description, colour, and icon set, and an empty kanban board with the four default columns ready to receive tasks.
Prerequisites
- Planix open and the OpenRegister back end connected (see Open Planix for the first time).
- The Planix register initialised (an admin's one-off step — see Manage Planix settings).
- Optional: the default-column set configured by an admin if your team uses different columns than the defaults (see Configure default project columns).
Steps
-
Open Projects from the Planix navigation. The project list opens. Click Create project.

-
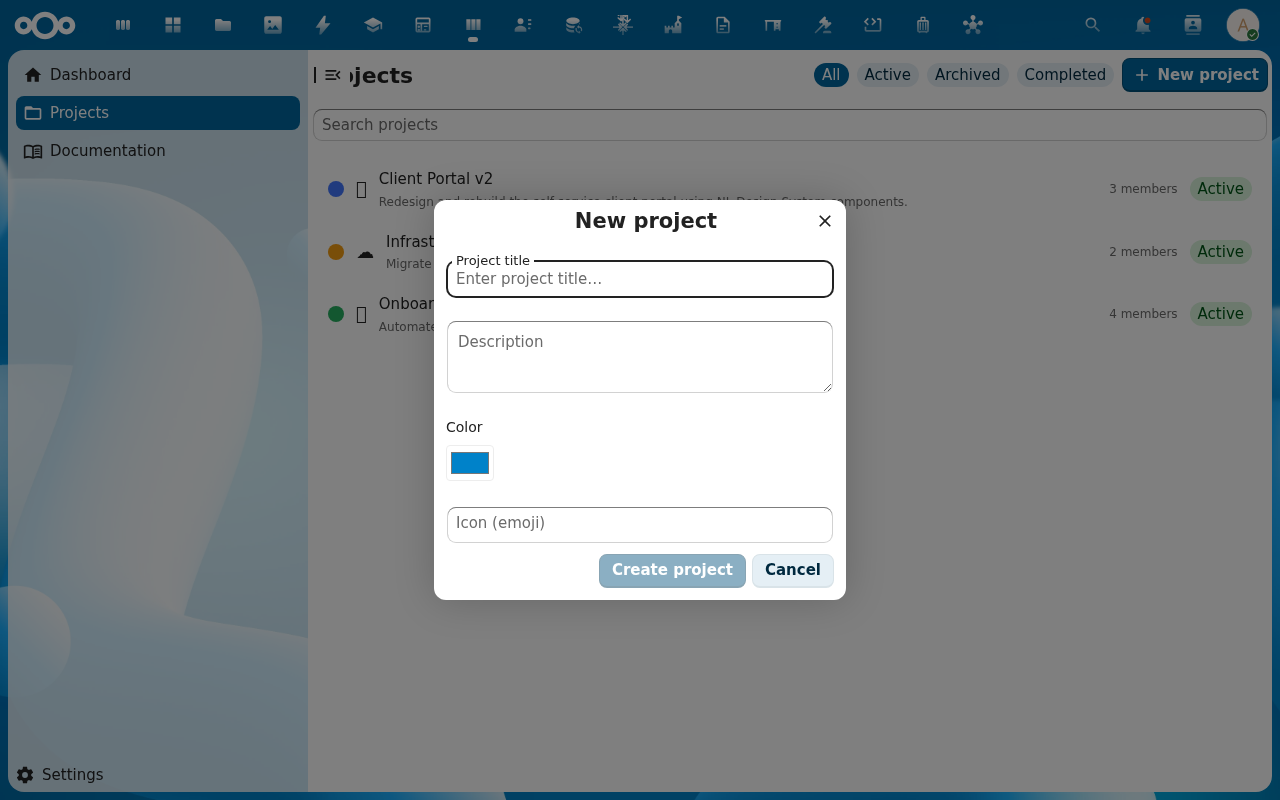
The Create project dialog opens. Fill in:
- Title (required, max 200 chars)
- Description (optional, supports multi-line text)
- Colour — pick from the swatch (used on the project card, board header, and dashboard widget)
- Icon — pick a Material Design icon name (rendered on the project card and the navigation)
Click Create.
-
Planix creates the project, seeds the four default columns (To Do, In Progress, Review, Done) with their colours, and navigates you to the project's board view. The board is empty; the column headers each show a count of
0and any WIP limit the admin configured.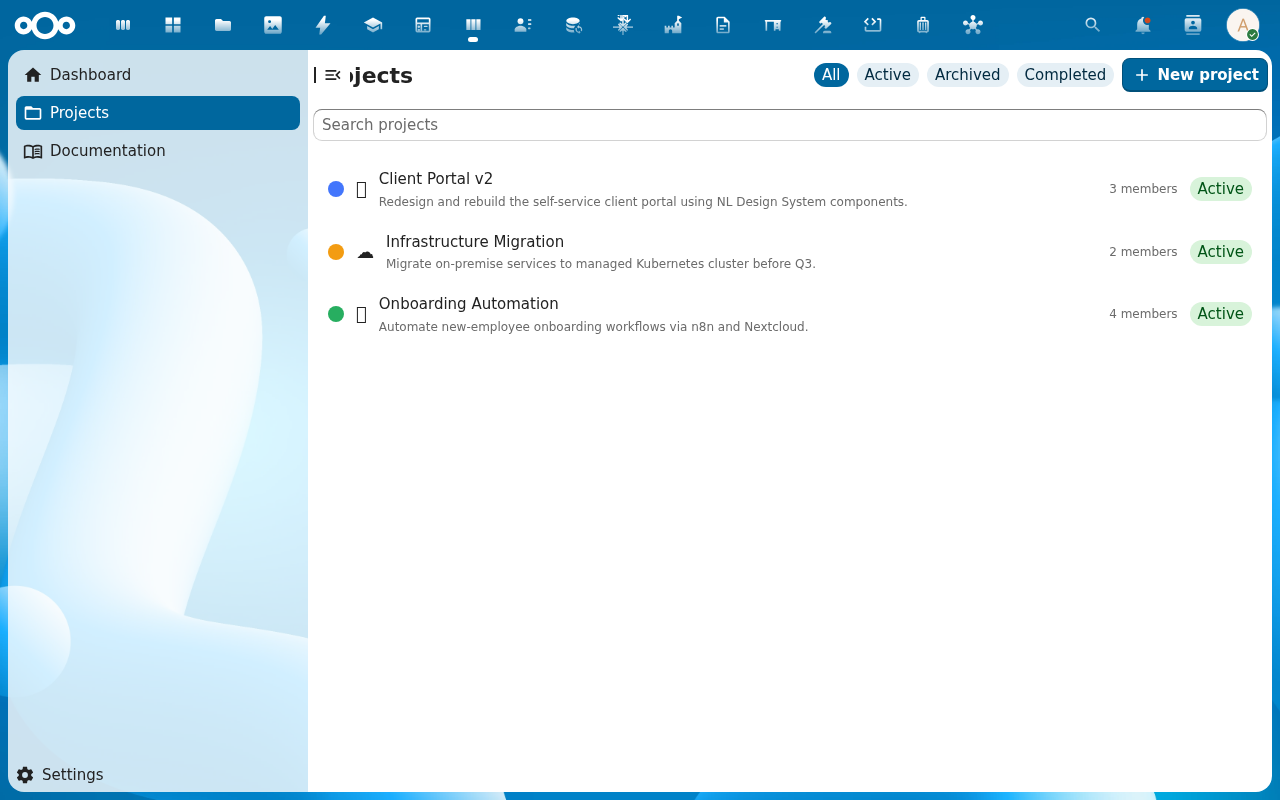
-
Open the gear icon in the board header to bring up the Project settings sidebar. It has three tabs:
- Details — edit title, description, colour, icon
- Members — search Nextcloud users, add them to the project; leave / remove with a warning when the user has assigned tasks
- Danger zone — archive (hides from the default list, keeps everything) and delete (cascades to columns, tasks, time entries — confirmation dialog shows the task count)

-
Switch to the Members tab and add the people who will work on this project. Each gets a Nextcloud notification that they were added. The project list filter scopes to projects each user is a member of, so adding a member is what makes the project visible to them.

Verification
The project appears in the Projects list with its title, colour, and icon. The board view shows the four default columns with 0 tasks each. The project's Members tab lists every user you added. Sidebar saves reflect immediately on the page header and on the project list (no full reload).
Common issues
| Symptom | Fix |
|---|---|
| Create project dialog doesn't open | The Planix schema isn't imported — an admin re-runs Initialize register in Settings → Administration → Planix (see Manage Planix settings). |
| New project has different default columns than expected | Default columns are configurable per Planix instance — see Configure default project columns. |
| Member can't see the project after being added | They need to reload Planix; the project list filter is membership-scoped at load time. |
| Cannot delete a project | Deletion cascades to columns, tasks, and time entries — the confirmation dialog displays the task count. If the project is archived, unarchive first; if you're not the owner, ask the owner. |
| Screenshots may be missing | App not yet installed in the test environment; rerun npm run test:e2e:docs once it is. |
Reference
- Work with the kanban board — what to do with the board once it's populated.
- Add and manage tasks — the first thing most users do on a new board.
- Configure default project columns — admins customise what new projects start with.
- Projects reference — the underlying feature spec.